Your First Clipia Generation: A Guide to the New Studio
Sign in, choose a mode, write a prompt and find your result
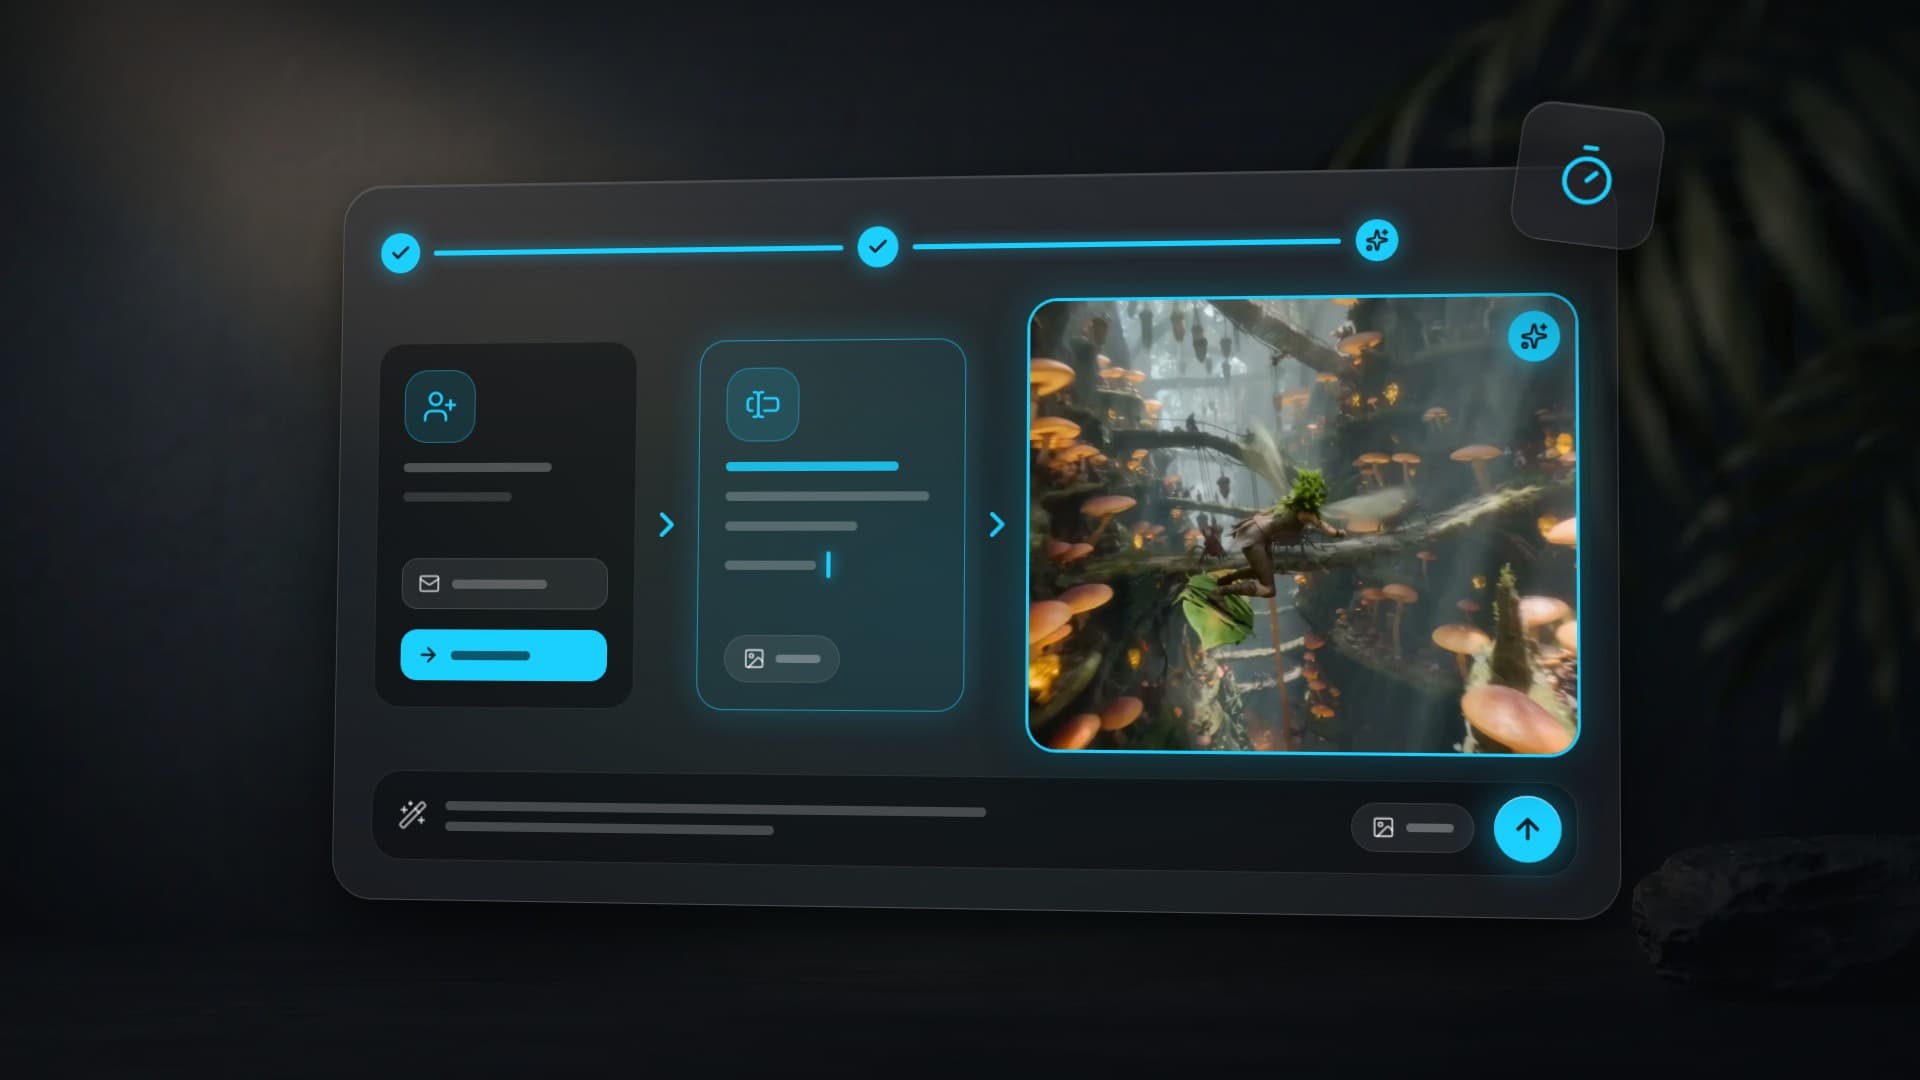
To create your first result on Clipia: open the image studio, choose “Text to image” and a model, write a description, and press “Create image”. For video, use the video studio and “Text to video” or “Image to video”. The launch button shows the price; “My tasks” on the same page shows progress and results.
Step 1: Sign in to your account
Open the sign-up page and choose an available sign-in method. For email registration, complete the form and verify your address with the code from the message. Use the same method when returning to your work.
Registration includes 5 welcome credits. Compare your balance with the price of the selected model and settings. It covers a first image on suitable settings, but not every video. Translation and dictation have separate charges shown beside the prompt field.
Step 2: Choose a studio and task
Clipia has three studios: images, video, and audio. Each has tabs for specific tasks.
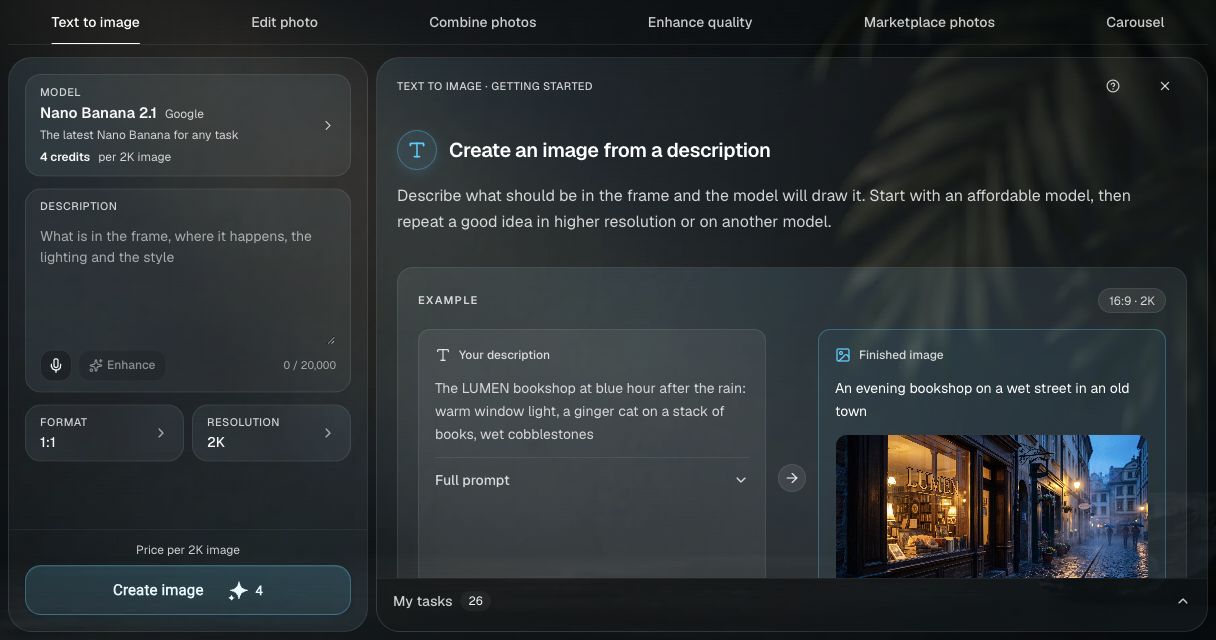
- Text to image — create an image from a description.
- Edit photo — upload a photo and describe the change; separate tabs let you combine photos or enhance quality.
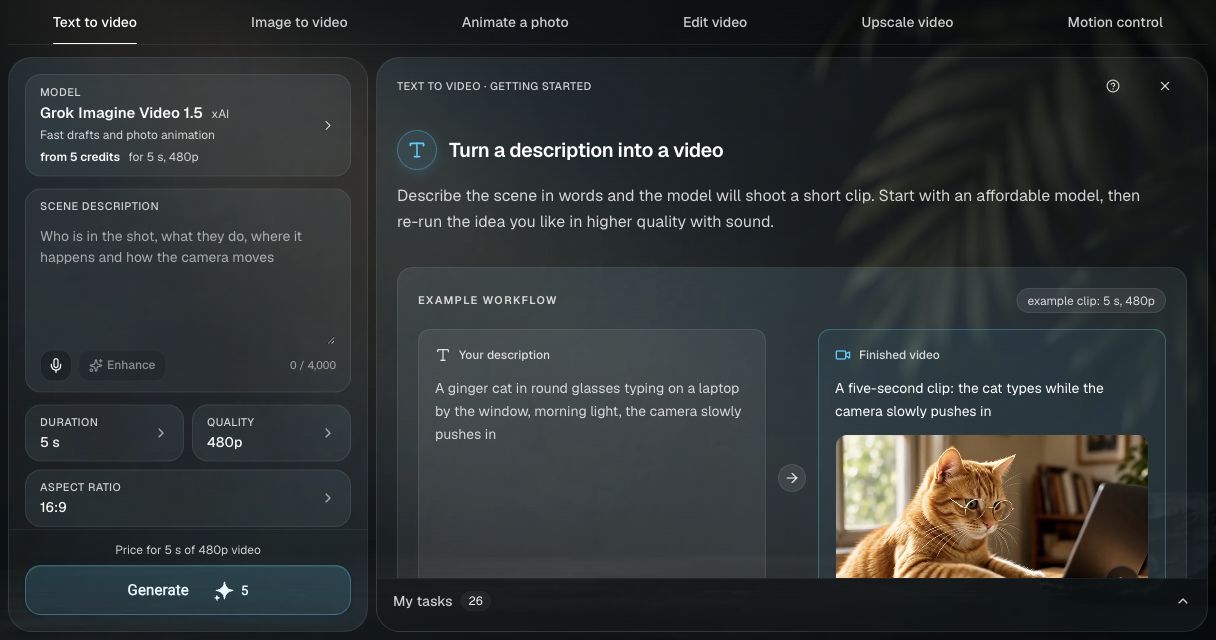
- Text to video — describe the scene and motion.
- Image to video — upload a source image and describe how it should move.
An image is a useful first exercise: one description, one model, one result. The studio's “How it works” guide explains the selected task.
Step 3: Choose a model
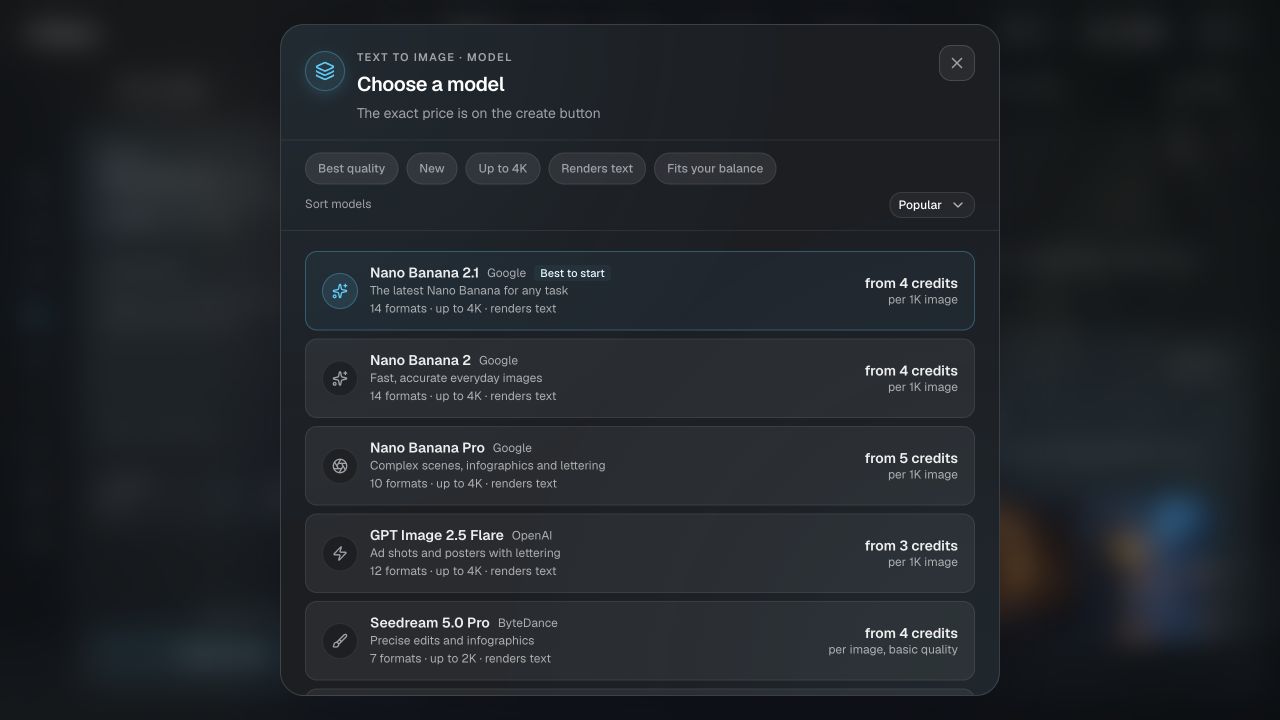
Press the current model name in the form to see models compatible with the task. Choose the mode first: generating a new image and editing a photo can have different model lists.
For a first experiment, consider Nano Banana 2 or FLUX 2 Pro. Check the model's capabilities and the price for your settings. “From” prices in the picker help compare options; the launch button shows the final estimate for your configuration.
Step 4: Write a description
Describe the subject, surroundings, light and style. An image needs a single composition; video also needs action and camera movement. Try this scene:
A mechanical watch on a dark stone plinth, close-up of the dial and case details, soft side studio lighting, restrained product photography, a sharply defined subject and a blurred background.
For a video version, add: “The camera slowly orbits the watch, a reflection moves across the glass, and the watch stays still.” Use the language you are comfortable with and clarify technical terms when needed.
Tools beside the prompt field
“Enhance” adds description details for the selected model. Read the revision before running it to ensure it preserves your idea. “Translate to English” is a separate action. Translation costs 1 credit per request; dictation of up to 60 seconds costs 1 credit. Those charges are separate from generation.
Step 5: Check settings and price
Settings depend on the mode and model. The form may offer aspect ratio, resolution, video duration, sound and other supported controls. A setting shown in an older screenshot may not apply to your selected model.
- Aspect ratio: 16:9 for landscape, 9:16 for portrait, and 1:1 for square, when supported.
- Duration: select a value offered by the video model.
- Resolution and extra features: change them deliberately and check how the price changes.
For the first test, suitable defaults are a good starting point. Review the prompt, model, attachments and button price before launching.
Step 6: Start generation
Press “Create image” or “Generate”. The photo-editing tab uses “Edit photo”. The submitted task appears in “My tasks”, where you can follow its progress.
Waiting time depends on the model, settings and queue. If the result has not appeared, check the existing task before submitting another copy.
Step 7: Download or keep working
The result opens in the studio's work area. Select the task and press “Download” to save the file. Generations are also available in your account history.
Open “Use in…” for the next step. Available actions depend on the result: an image can be sent to photo editing or used as a source frame for video. After switching tools, review the file, prompt, model and price of the new run.
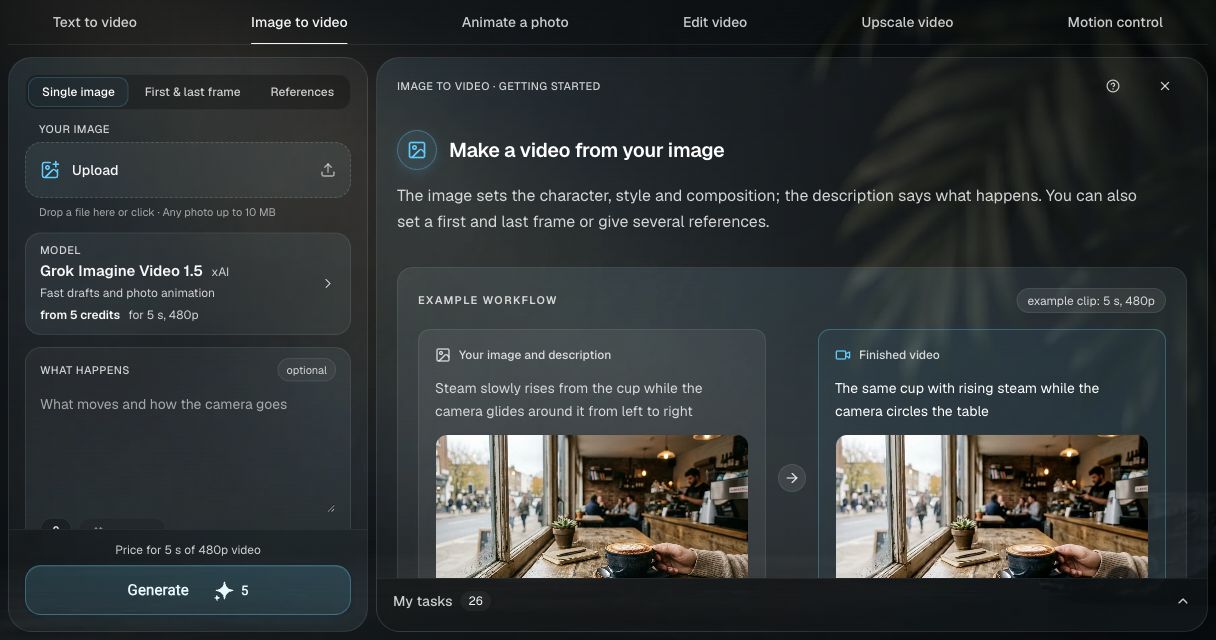
To turn an image into video manually, open “Image to video”, choose “Single image”, upload the image and describe the movement. “First & last frame” and “References” cover other source-image scenarios; model support varies.
How to add credits
If your balance is too low, open current pricing and choose an option. Check the price, credit amount, billing period and renewal terms before paying. Your account shows available top-up packs and payment methods.
A finished result's cost depends on the model, settings and number of attempts. Refine the idea on an affordable configuration before repeating it at your target quality. Use the estimate in the current form when budgeting.
What Should You Do After Your First Generation?
After your first generations the main question appears: how do I get better results? Four directions:
- Prompts — read our prompt-writing guide. Prompt structure affects results more than model choice. Need ready-made templates? See our 10 cinematic video prompts
- Models — each model has its strengths. Compare them in the image models guide and video models guide
- Ideas — browse 10 creative ideas with copy-ready prompts to see what the platform is really capable of
- Parameters — try different aspect ratios and quality modes on the same prompt
More on Getting Started with AI Generation
- How to Write AI Prompts: The Complete Guide
- AI Image Generation: How to Choose a Model
- AI Video Generation: The Complete Guide
Frequently Asked Questions
How do I create my first image?
Open Text to image in the image studio, choose a model, describe the scene, and press Create image. The button shows the price and My tasks shows the result.
What do welcome credits cover?
Registration includes 5 credits. Compare that balance with the selected configuration's price; translation and dictation are charged separately. A video may need more credits.
Where do I find a finished result?
In My tasks on the studio page and in your account history. Select it to download the file or continue through Use in….
How do I edit a photo?
Open Edit photo, upload an image, select a model and describe the change. Review the cost before running it.
Can I use the result commercially?
Check the selected plan, model conditions and legal documents. You need the necessary rights to any photos, logos or other materials you upload.
How long does generation take?
It depends on the model, output size and queue. Follow the status in My tasks; submitting a request and waiting for the completed file are separate stages.
Try it yourself on Clipia
60+ models for video and image generation. One account, transparent pricing.